
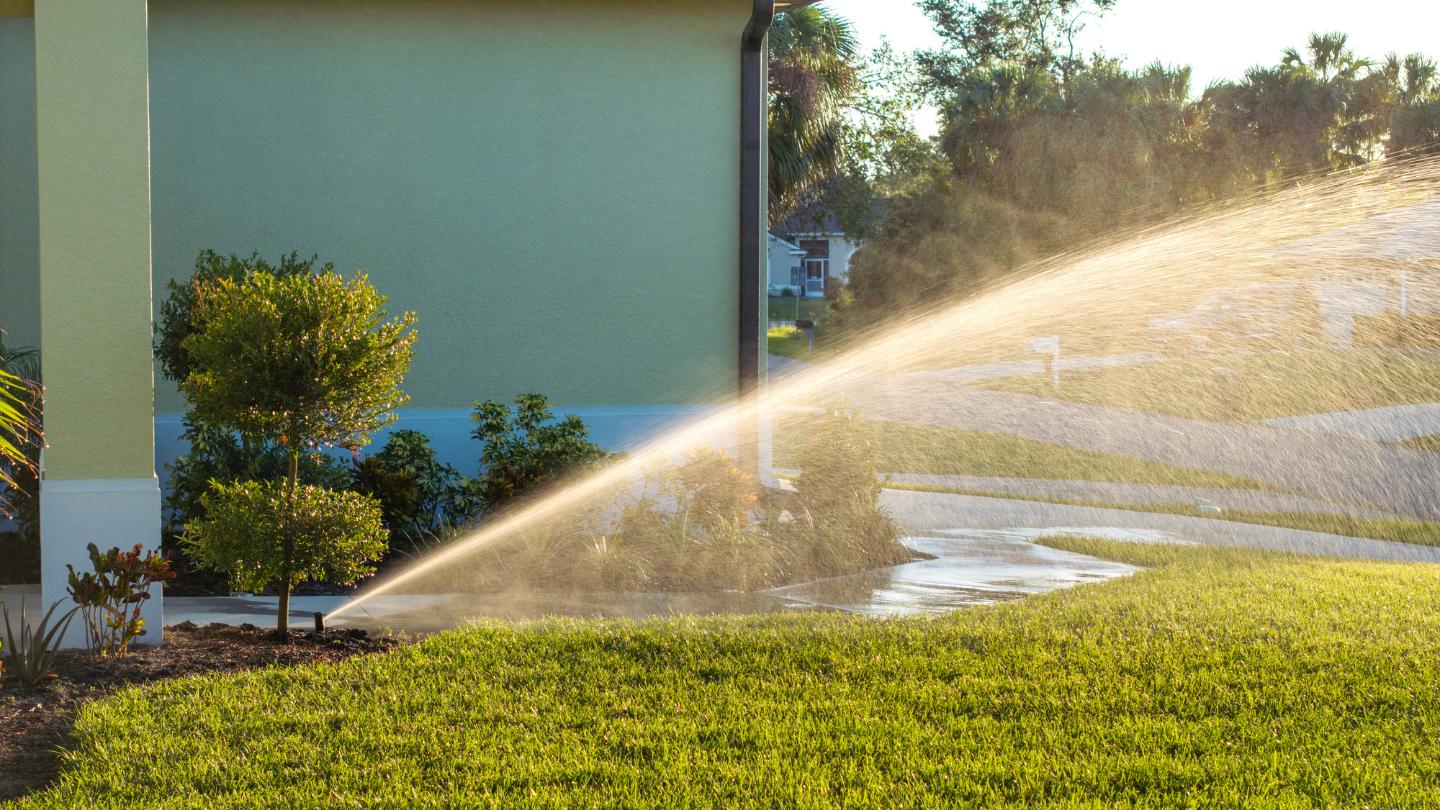
Knowing how to winterize sprinkler system setups is essential for Gig Harbor homeowners before colder temperatures settle in. Our damp fall weather might not feel harsh, but it doesn’t take much for leftover water in your lines to freeze and expand. That’s where problems start. Without proper prep, even a small cold snap can lead to cracked pipes, damaged valves and repairs you didn’t budget for.
I walk through how to winterize irrigation system components step by step, so you can protect your investment and avoid headaches in the spring. From shutting off the water supply to clearing out remaining moisture, I’ll cover what matters most for homes in the Gig Harbor, WA area.
If you’d rather skip the guesswork and have it handled professionally, take a look at our lawn sprinkler services to keep your system running smoothly year round.
Key Points
- Winterizing your sprinkler system protects pipes from freezing and cracking.
- Turning off water and power is the first step to prevent system damage.
- Fully draining the system is key to avoiding pressure buildup in the lines.
- Insulating exposed parts helps prevent cold-weather wear and tear.
- Hiring a pro landscaper reduces the risk of damage, especially with the blow out method.
Why Irrigation Winterization Matters
Before getting into how to winterize sprinkler system components, it helps to understand what’s at risk. When water freezes, it expands. That expansion puts serious pressure on your pipes, valves, and sprinkler heads. Even a small amount of trapped water can lead to cracks or full-on pipe bursts.
In a place like Gig Harbor, where temperatures can dip unexpectedly, skipping proper winter irrigation can lead to costly repairs quickly. Damage isn’t always obvious right away, either. You might not notice an issue until you turn your system back on in spring and find leaks, weak pressure, or sections that won’t run at all. A little prep now helps you avoid delays, extra costs and a stressed out lawn when the growing season starts again.
When to Winterize an Irrigation System
Timing matters when it comes to winterizing your sprinkler system. Ideally, you want everything shut down before the first hard freeze. That’s when temperatures drop below 32°F for several hours and can freeze any water left in the lines.
It’s best to act early. Once nighttime temperatures start dipping into the mid -30s, it’s time to prepare. Waiting too long can leave you scrambling during a sudden cold snap. Getting ahead of it gives you a buffer and helps ensure your system is fully protected before freezing weather hits.
Pro tip: If you’re unsure how to shut off your sprinkler system for winter or want a second set of eyes on it, you can always reach out to a local landscaping team to make sure everything is properly prepped before winter sets in.
Essential Steps: How to Winterize Sprinkler System Components
Now that we understand the importance and timing, let’s break down the process of winterizing sprinkler system equipment step by step.
1. Shut Off the Water Supply
The first and most crucial step in winterizing your sprinkler system is to shut off the water supply. Locate the main shut-off valve for your irrigation system. This is typically found near your water meter or where the main line enters your home. Turn the valve clockwise to completely shut off the water supply to your sprinkler system. This step is important to prevent new water from entering the system during winterization.
2. Turn Off the Controller
Next, you’ll want to shut down your irrigation controller or timer. Most modern controllers have a “rain mode” or “off” setting that stops the signals to the valves while maintaining the programming information. If your controller is responsible for activating a pump, it’s a good precaution to disconnect the wires from the MV (Master Valve) and the common terminals. This prevents accidental pump activation, which could cause damage if the system runs dry.
3. Drain the System
Draining all the water is a critical step in sprinkler system winterization. There are three main methods to do this:
- Manual drain valves
- Automatic drain valves
- Blow-out method using compressed air
The method you choose will depend on your specific system setup and your comfort level with the process.
Manual Drain Method
If your system has manual drain valves, you’ll need to:
- Locate all of the manual drain valves at the ends and low points of your piping.
- Open all these valves to allow water to drain out.
- Open the drain valve on the backflow device as well.
- Drain any remaining water from the sprinklers with check valves by lifting the sprinkler heads.
Automatic Drain Method
Systems with automatic drain valves will drain automatically when the water pressure falls below a certain level. To activate this:
- Turn off the main water supply.
- Run one of the sprinkler heads briefly to relieve water pressure in the system.
- The automatic draining should begin, clearing excess water from the pipes.
Blow-Out Method
The blow-out method is the most thorough way to winterize your sprinkler system, but it can also be the most complex and potentially dangerous if not done correctly. Here’s a general overview of the process:
- Connect an air compressor to your sprinkler system using a coupler.
- Slowly introduce compressed air into the system, working one zone at a time.
- Continue blowing out each zone until no more water comes from the sprinkler heads.
- Be careful not to exceed 80 PSI for systems with PVC piping or 50 PSI for those with polyethylene pipes. Refer to the chart below to guide proper pressure levels and avoid damaging your irrigation system during the blowout process.
Pipe Material | Maximum PSI |
|---|---|
PVC | 80 PSI |
Polyethylene | 50 PSI |
Due to the potential risks involved with the blow-out method, many homeowners hire a professional for this step. If you’re unsure about any part of the process, consulting with an irrigation specialist is always better.
4. Insulate Above Ground Components
After draining the system, it is important to protect any above ground components from freezing temperatures. This includes:
- Backflow preventers
- Valves
- Exposed pipes
Wrap these components with foam insulating tape or tubes. These materials are available at most home improvement stores. When insulating, be careful not to block any air vents or drain outlets.
5. Final Checks
Before considering your winterization complete, do a final walk through of your system:
- Make sure all valves are closed (except those that should remain open for proper drainage).
- Check that all exposed components are properly insulated.
- Confirm that your controller is in the appropriate winter mode.
Common Mistakes to Avoid
When learning how to winterize sprinkler system components, it’s just as important to know what not to do. Here are some common mistakes to avoid:
- Waiting too long to winterize the irrigation system
- Forgetting to drain outdoor faucets and hoses
- Using too much air pressure during the blow-out method
- Neglecting to insulate above-ground components
- Failing to shut off the main water supply
Avoid these mistakes now and save yourself from costly repairs later.
Professional vs DIY Irrigation Winterization
While many homeowners choose to prepare their sprinkler systems for winter on their own, there are benefits to hiring a professional. A professional service can ensure that every part of your sprinkler system is properly winterized, potentially catching issues you might miss.
However, if you’re comfortable with home maintenance and understand your system well, DIY winterization can be a cost effective option. Just remember to follow all safety precautions, especially if you use the blow-out method.
If you’re still deciding between DIY and hiring an experienced landscaper, this quick comparison can help:
DIY Winterization | Professional Winterization |
Lower upfront cost | Higher upfront cost |
Good for simple systems | Ideal for complex or multi-zone systems |
Requires equipment (air compressor) | All tools and equipment provided |
Risk of incorrect pressure or missed water | Proper pressure control and full system clearing |
Takes more time and effort | Quick and handled for you |
Best if you’ve done it before | Best for peace of mind |
Ensure Your Sprinkler System Is Winter Ready
Knowing how to winterize sprinkler system components isn’t something to put off. One cold snap is all it takes for trapped water to freeze, expand, and damage your entire system. Taking the time now to properly winterize irrigation system parts can save you from expensive repairs and delays when spring rolls around.
If you want peace of mind that everything is handled properly, don’t wait until temperatures drop. Contact our landscaping professionals today to get your system winter-ready and protect your investment before the colder weather hits.
FAQs About How to Winterize a Sprinkler System
Can I winterize my sprinkler system myself?
Yes, you can winterize your sprinkler system if you’re comfortable with home maintenance tasks. However, it’s crucial to understand your system and follow safety precautions, especially when using compressed air. If you’re unsure, it’s best to consult a professional.
At what temperature do sprinkler pipes freeze?
Sprinkler pipes can freeze when temperatures drop below 32°F for an extended period. However, it’s best to winterize your system before temperatures consistently reach this point, typically when nighttime temperatures regularly fall into the mid -30s Fahrenheit.
How do you shut down a sprinkler system for winter?
To shut down a sprinkler system for winter, turn off the water supply, drain all lines using manual drains, automatic valves, or the blow-out method, switch off the controller, and insulate exposed components to prevent freezing damage and ensure a smooth spring startup.
How do I drain my sprinkler system for winter?
There are three main ways to winterize irrigation system lines: manual drain valves, automatic drain valves, or the blow-out method using compressed air. The right method depends on your system and comfort level, but removing all water is essential to prevent freezing and damage.
As the owner of Garland Landscape, Chris brings over 19 years of experience in landscaping and hardscaping to every project.